Green Tower / Hidden red lamps8 min readhidden red lamps

BIG WALK Hidden Red Lamps: Build a Safe Green Route

Index the Green Tower lamp circle, mark every persistent red-star hazard after a failed attempt, then finish using the known-safe green lamps.

Direct solution

Find the blue circular arena near Green Tower at about 4020, 1870. Before starting, pick one doorway or the control desk as position 1 and number the yellow lamp stands around the circle in one direction. Bring spare lanterns or loose objects as markers. Test only one unknown lamp at a time. A green shape means that lamp is safe for the current layout; a red star ends the attempt, but its position stays dangerous on the next run. Place a marker beside that exact stand, restart, skip every marked red lamp, and add only one new unknown per attempt. Finish by activating the required safe green set. A fully green central column confirms success. If the remembered set does not finish, keep every hazard marker and test the remaining unknown positions instead of guessing.

Where to go

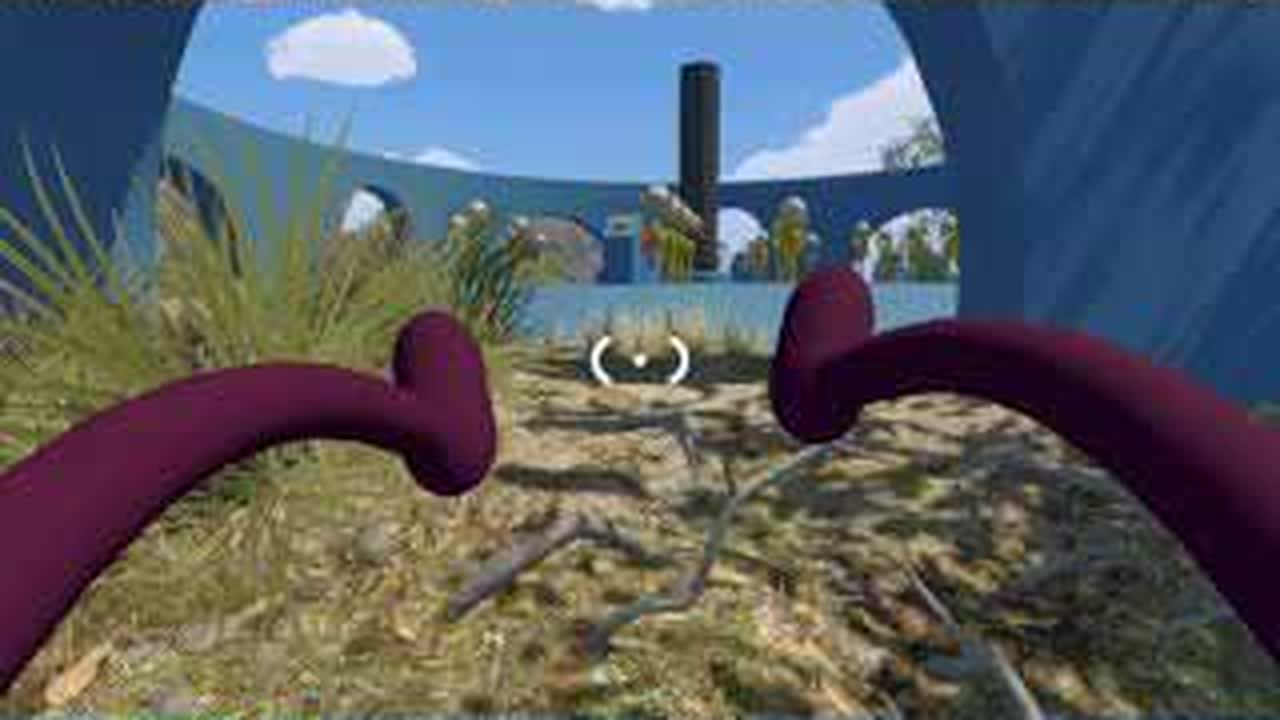
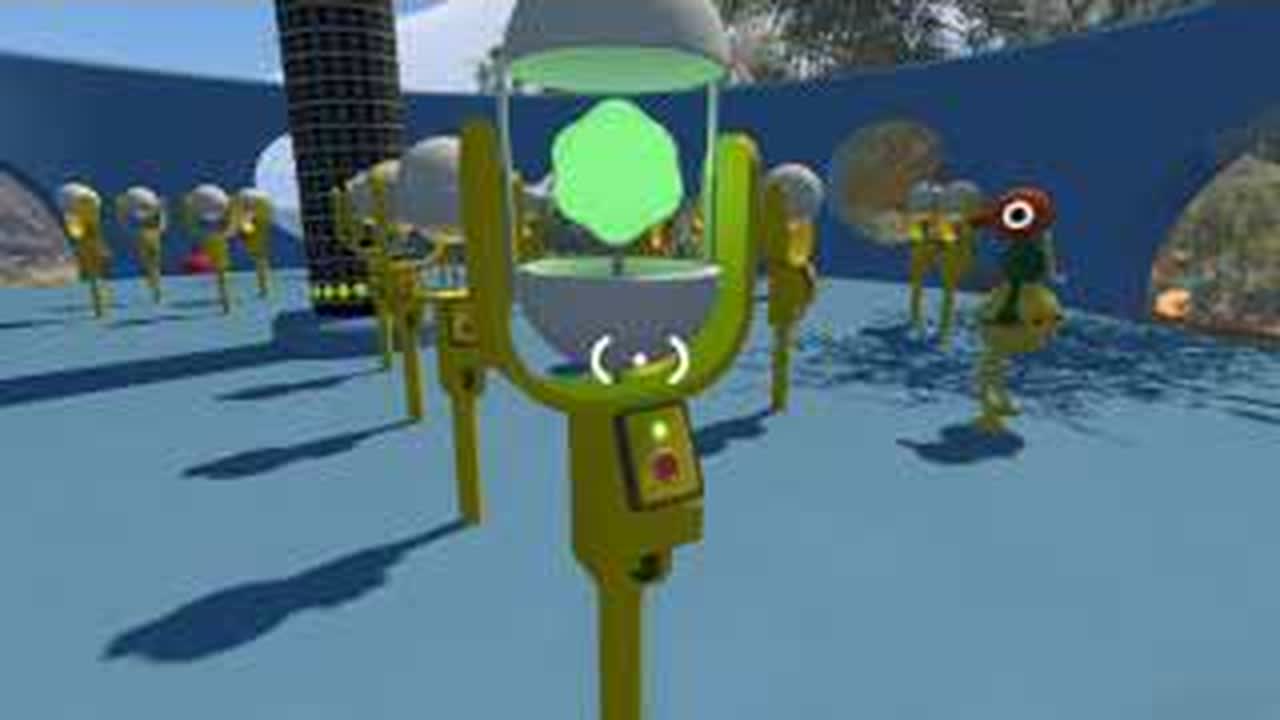
Travel to approximately 4020, 1870 below Green Tower. Look for a low blue circular wall with several round openings. Inside are many yellow lamp stands, a tall black progress column, and a start/control point. A Green Tower laser makes the arena easier to spot at night.
Before the first attempt

  • Bring spare lanterns, balls, or other loose objects that can sit beside a lamp without covering its control.
  • Choose one fixed landmark as position 1 and agree to move only clockwise or only counterclockwise.
  • Assign one caller to own the position list; extra players must not test a lamp without naming its number first.
  • Keep every marker outside the walking line so a restart does not scatter the hazard map.

Exact steps

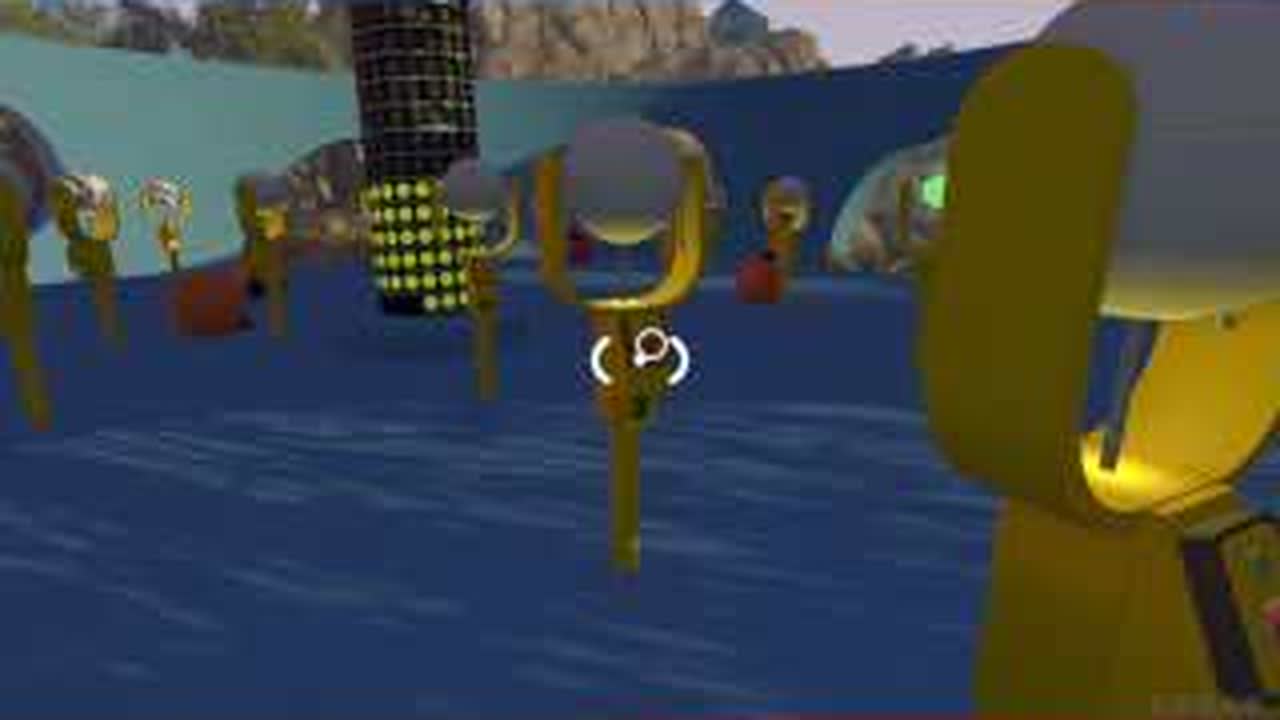
  1. Blue circular BIG WALK arena with yellow lamp stands and a tall central column
    Source time 02:59:17Temporary frame
    1

    Find the blue lamp arena below Green Tower

    Go to about 4020, 1870 and enter the blue circular enclosure. Confirm the yellow lamp stands and the tall black progress column before moving any loose objects.

    You are inside one open circle with many yellow stands surrounding one central column.

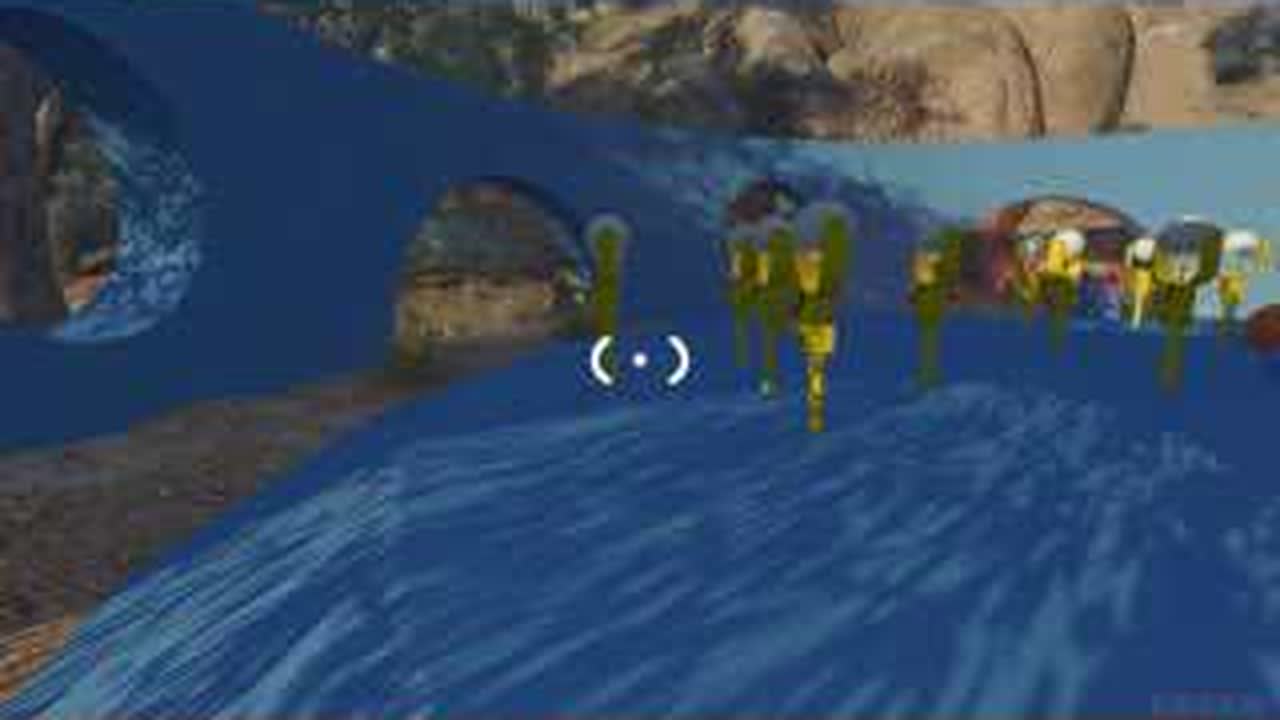
  2. Fixed doorway used to index the BIG WALK hidden-lamp circle in one direction
    Source time 02:59:37Temporary frame
    2

    Create one stable circle index

    Use the control desk, a distinctive doorway, or another fixed wall opening as position 1. Point to it, choose clockwise or counterclockwise, and number every stand in that direction. Never restart the numbering from where a player happens to be standing.

    Every player can identify position 1 and the agreed travel direction without asking which lamp is next.

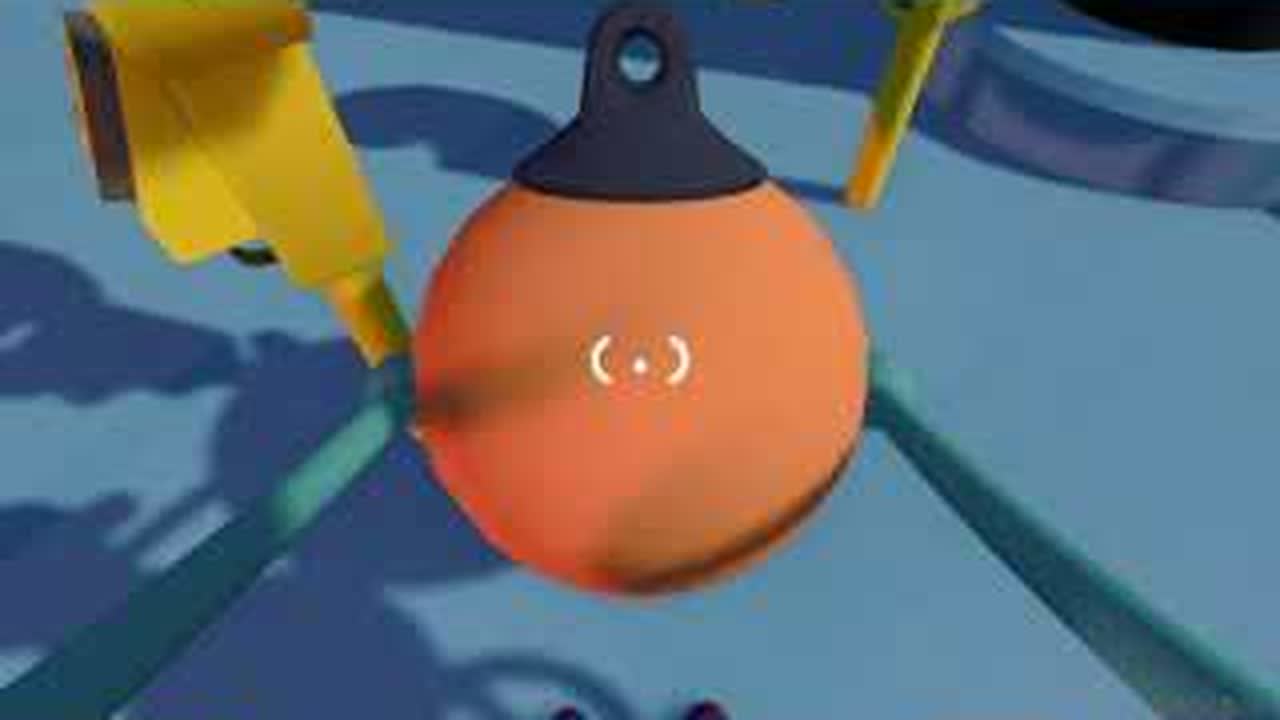
  3. Loose orange marker staged beside yellow lamp controls in BIG WALK
    Source time 03:00:27Temporary frame
    3

    Stage markers without blocking controls

    Place spare objects by the start landmark, not beside random lamps yet. If the team splits up, assign non-overlapping numbered arcs and use the same marker type for every confirmed red hazard.

    Markers are ready, each scout owns a named arc, and no object covers a lamp button.

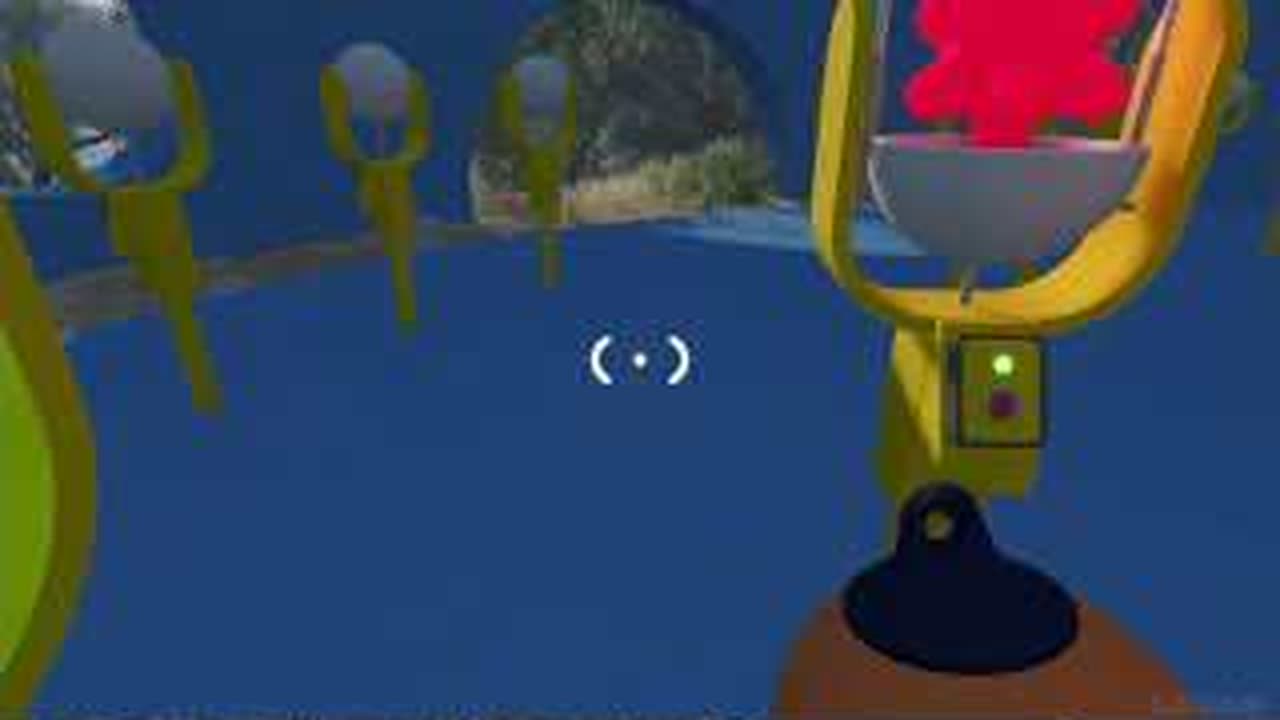
  4. Red star visible inside one failed yellow lamp in the BIG WALK hidden-lamp puzzle
    Source time 03:01:37Temporary frame
    4

    Test exactly one unknown lamp

    Start the attempt, call the lamp number, and activate only that unknown position. Do not let another player test at the same time. Record green as safe; if a red star appears, freeze so everyone can identify the failed stand.

    The attempt produces one unambiguous result tied to one numbered lamp.

  5. Marked red-star lamp position preserved for the next BIG WALK attempt
    Source time 03:01:57Temporary frame
    5

    Mark the failed stand before restarting

    Put one spare object beside the red-star stand, outside its control. Say the position number aloud and add it to the hazard list. Do not move an earlier marker to save objects; each visible marker preserves one failed run.

    The red position has both a physical marker and a recorded number before anyone presses start again.

  6. Players restarting through the indexed BIG WALK lamp circle while avoiding marked hazards
    Source time 03:02:07Temporary frame
    6

    Restart and skip every known red position

    Reset the attempt, return to position 1, and follow the same direction. Activate known-safe greens, walk past every marked red stand, then test one remaining unknown. Repeat until the required safe set is known.

    No player touches a marked lamp, and each failed retry adds only one new hazard to the map.

  7. Known-safe green lamps active around the BIG WALK central progress column
    Source time 03:02:57Temporary frame
    7

    Activate the current safe green set

    On the final run, activate only the positions proven green for this world. Watch the central column as progress accumulates. If it stops short, leave all red markers in place and test one remaining unknown on the next run.

    The selected lamps glow green and the central column fills without a red-star failure.

  8. Fully green central column confirming the BIG WALK hidden-lamp puzzle is complete
    Source time 03:03:37Temporary frame
    8

    Confirm the green column and collect the reward

    Wait for the central column to turn fully green and for the puzzle completion feedback. Collect the released Green Tower route piece before removing markers or leaving the arena.

    The central column and completed lamp set glow green and the reward is available.

Player-count plan

2 players

Use one caller/recorder and one tester/marker carrier. The tester names the lamp number before every press.

3-12 players

Split the circle into non-overlapping numbered arcs, but let one caller authorize each test so simultaneous presses never hide which lamp failed.

Common mistakes

  • Renumbering the circle after every restart and losing the identity of a red lamp.
  • Testing two unknown lamps at once, so the red-star failure cannot be assigned to one stand.
  • Placing a marker on the button where it can be kicked away or trigger the control.
  • Assuming another world or screenshot has the same safe set instead of learning the current layout.
  • Clearing hazard markers after a partial green run even though the central column is not complete.

How to recover

  1. 1.If a marker moved, return to the fixed landmark and retest only that uncertain numbered position.
  2. 2.If two players pressed together, discard that result and divide the circle into explicit non-overlapping arcs before the next attempt.
  3. 3.If a known red lamp is pressed again, stop random movement, rebuild the position-1 index, and restore each recorded marker.
  4. 4.If all remembered safe lamps are green but progress is incomplete, keep the red list and test the remaining unknowns one at a time.
  5. 5.If the arena is hard to find, look down from Green Tower at night and follow the visible laser toward the blue circle.

Related puzzle guides